The blue orchid - how to grow it and how to care for it

Have you ever seen a vibrant, deep blue orchid and wondered if it was real? Most of the time, when you think of blue orchids, you picture those deep blue Phalaenopsis orchids that you find for sale at your local florist or supermarket. Those bright blue orchid flowers look artificial. Surely, nature couldn't have created these blue orchid flowers, right?
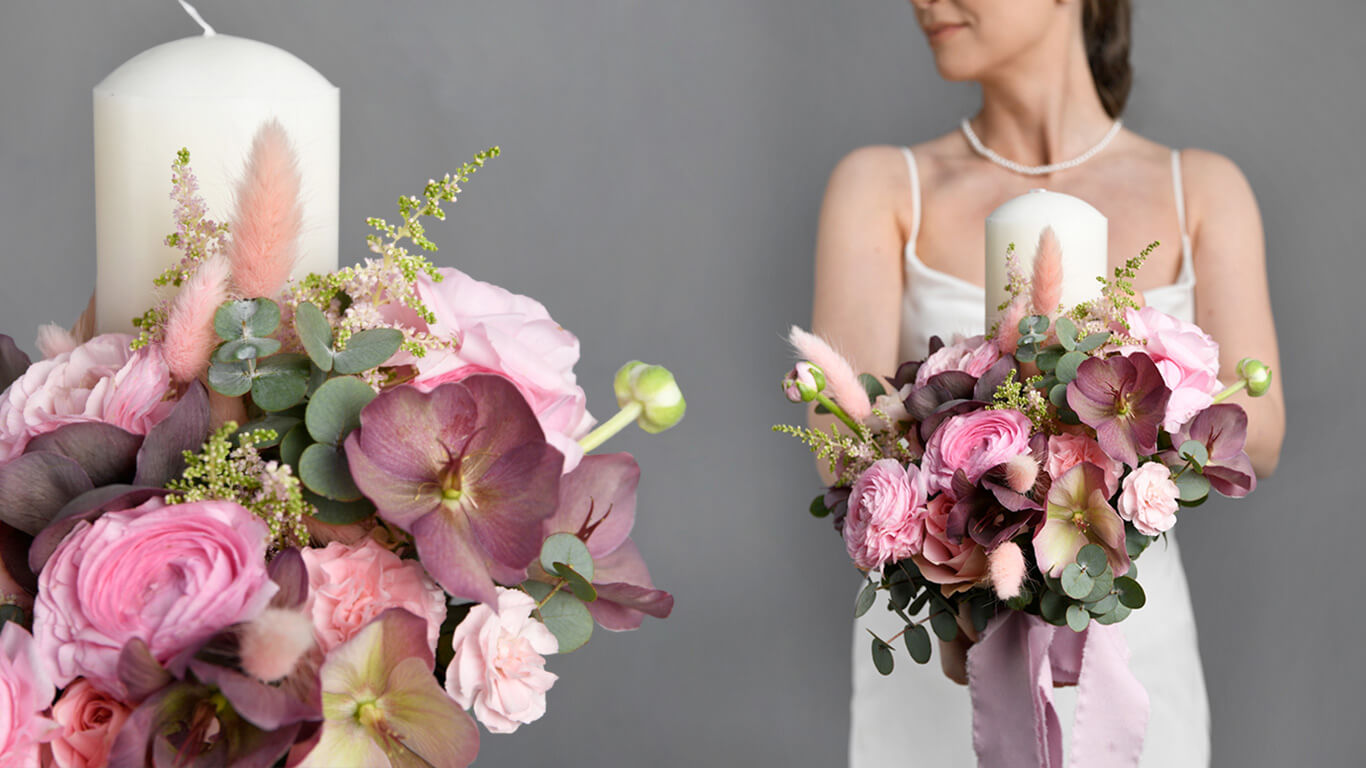
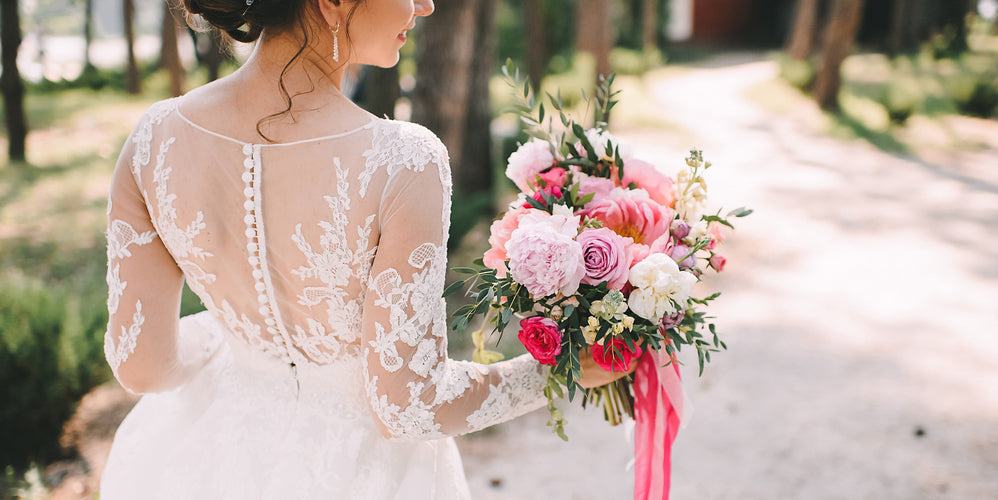
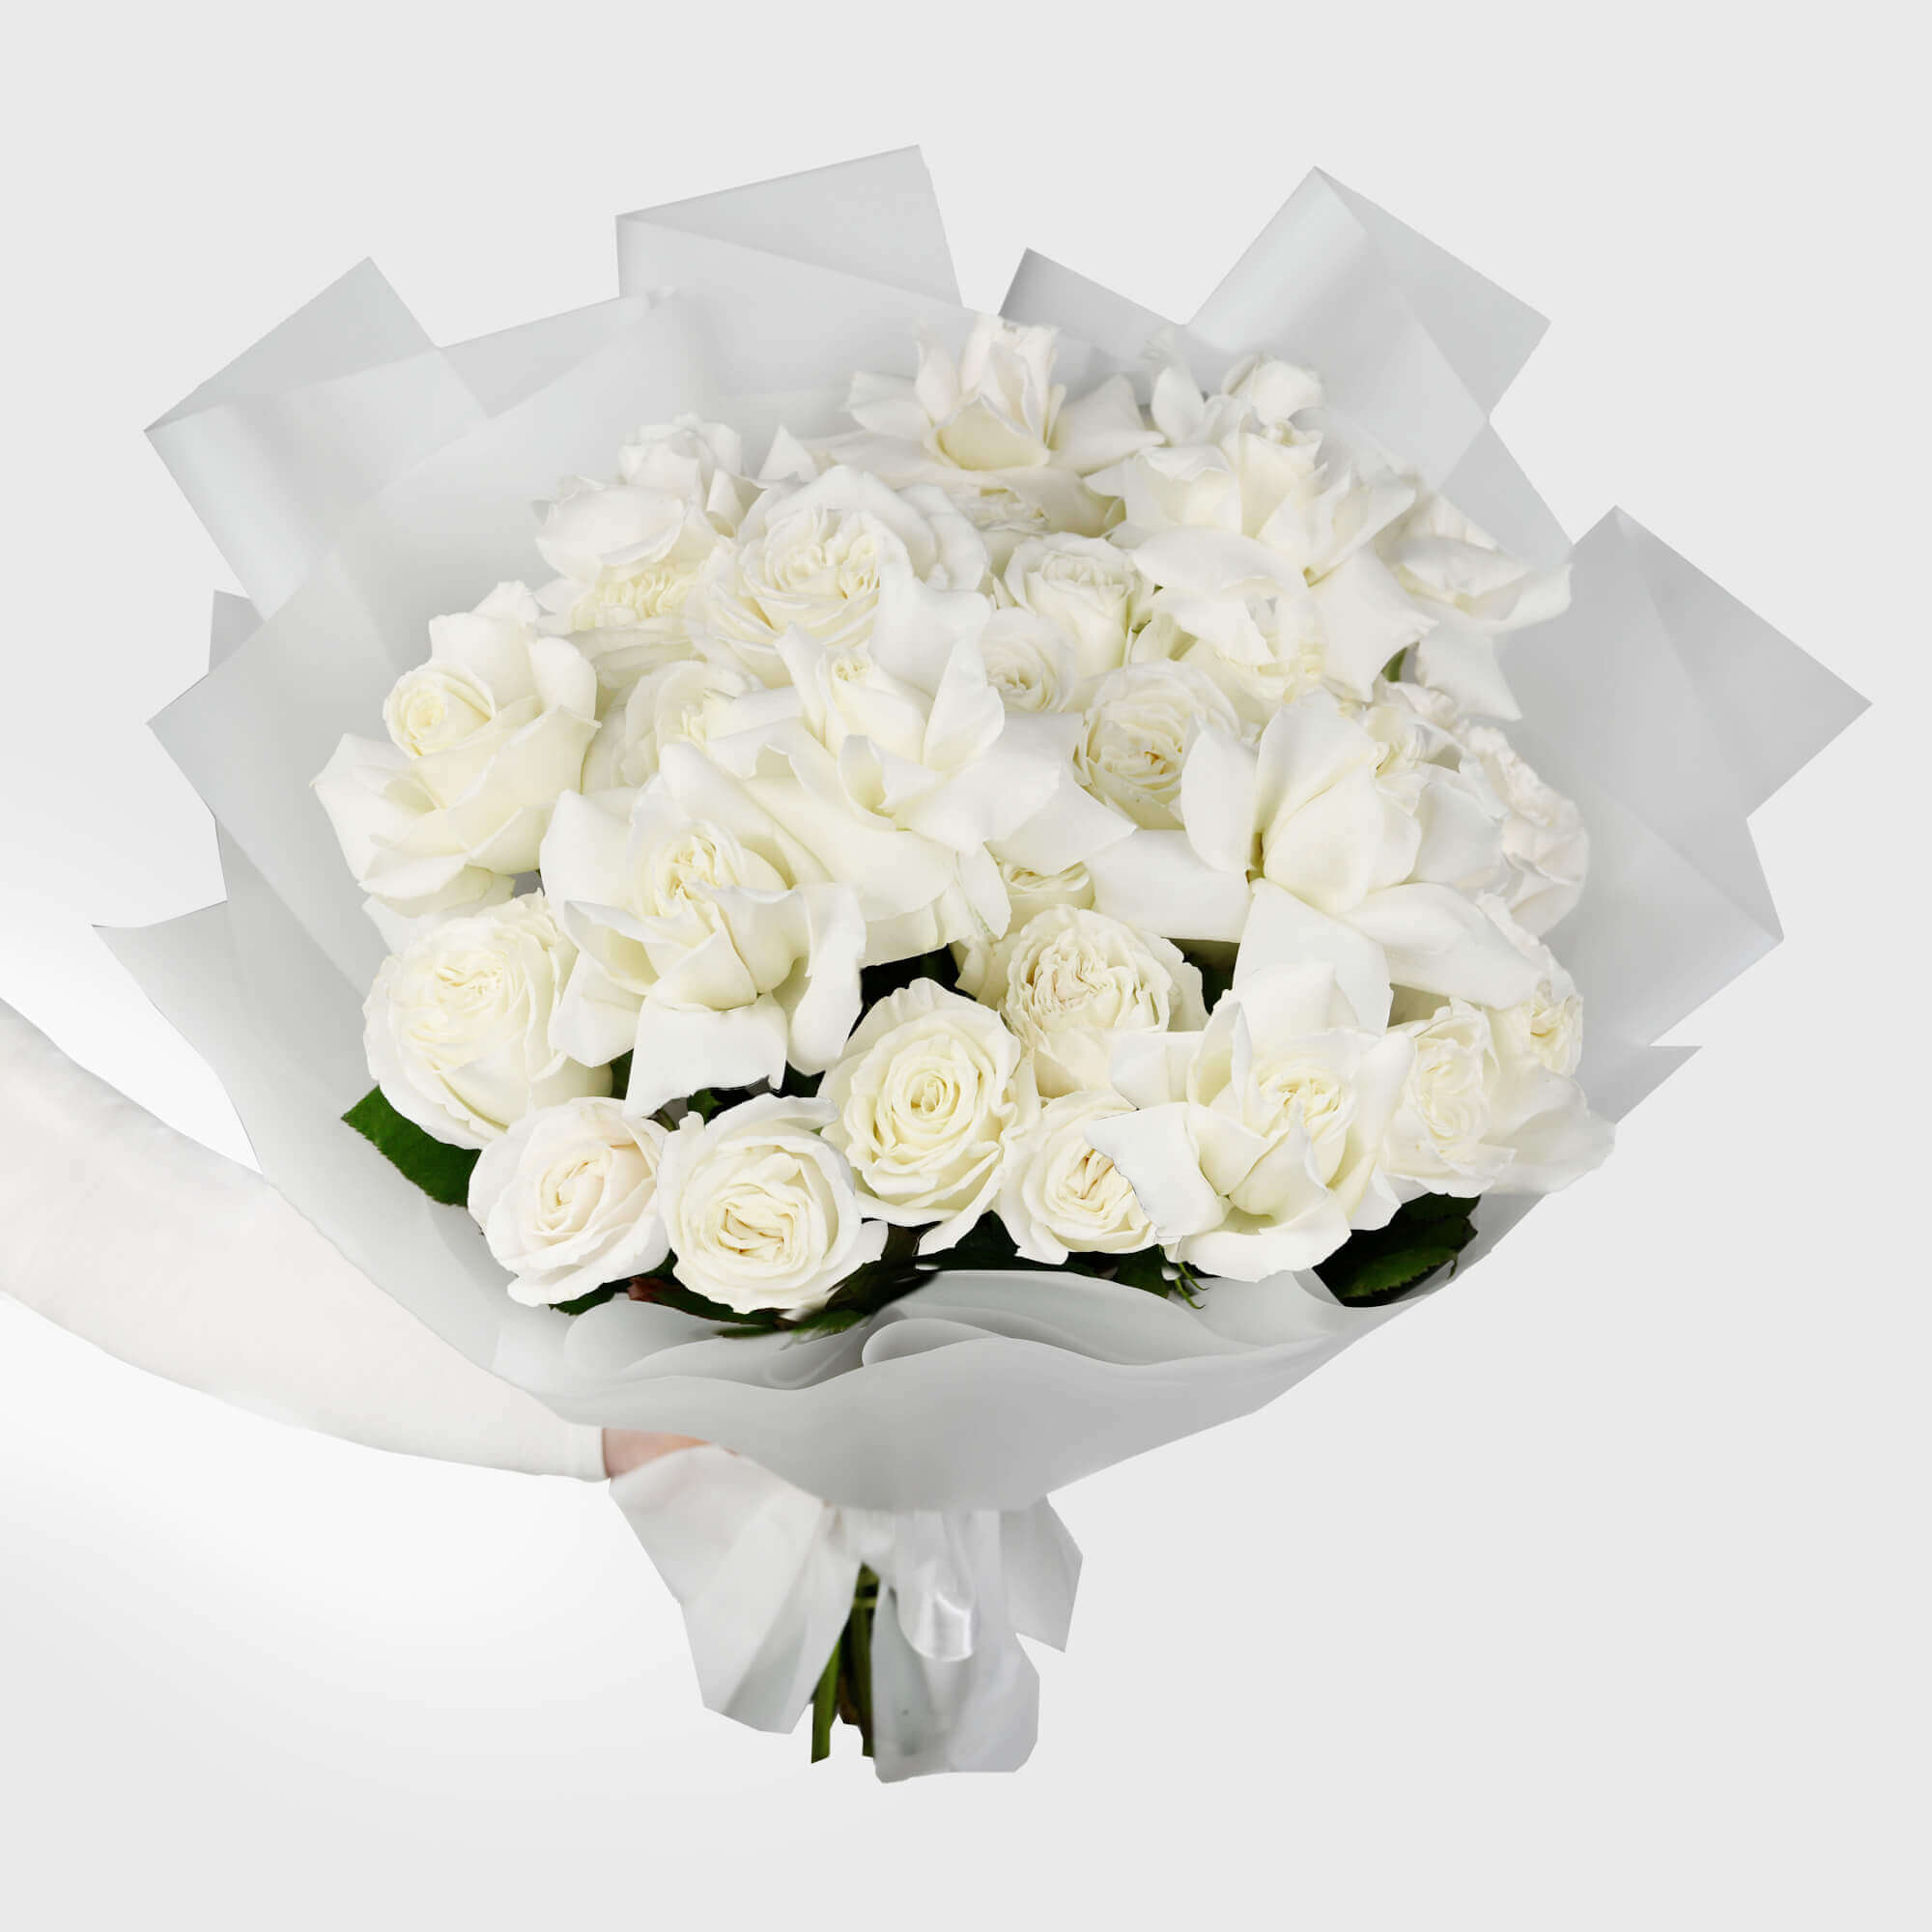
Whether you need a special bouquet, want to surprise someone with a flower delivery in Bucharest , or are simply looking for an online florist in Bucharest where you can order flowers at home , the options are varied and accessible on the californiaflowers.ro florist .
Most blue orchid flowers are created by orchid growers and are not real. Orchid growers inject blue dye into the tip of the orchid flower as it grows. White orchids, Phalaenopsis, are usually used for this. Depending on the stage of growth the flower tip is in, the orchid bloom will be different shades of blue. That said, there are some naturally occurring blue orchids, such as blue Vandas.

Contents:
- How blue orchids are created
- How to care for the blue orchid
1. How blue orchids are created
Unfortunately, most blue orchids sold are not naturally blue. Orchid growers have many tricks up their sleeves to sell more flowers, including making orchids bloom on a specific schedule and grow multiple spikes. One trick is to dye orchid flowers different colors. This creates eye-catching orchid displays and entices customers to purchase these unique orchids. To make blue orchids, orchid growers usually use a white orchid with a set flower spike. Technically, any color orchid can be used, but white allows the blue pigment to show off best.
First, orchid sellers make a small hole in the tip or stem of the orchid, somewhere below its buds or flowers. Using a small needle and a syringe filled with blue dye, they inject blue dye into that hole. As water and nutrients travel along the orchid stem to the end of the flower tip, the blue dye will travel the same path and color the orchid flowers blue. After the blue dye is injected into the tip of the orchid, the hole is sealed with wax. This prevents the blue dye from leaking onto the orchid stem and creating a mess. The timing of when the dye is injected is important.
To create light blue or pastel blue orchid flowers, growers inject blue dye before the flower buds open. To create that vibrant, bright or deep blue color, orchid growers inject blue dye into the tip of the orchid when the flowers are opening or fully open. After the dye has been injected, it usually takes at least 24 hours for the orchid to bloom and change color. Often, the blue orchids you see are Phalaenopsis orchids. However, Dendrobiums, Cymbidiums, and many other varieties of orchids can also be dyed blue.
If the orchid grower fails to use wax to seal the injection site, you may find blue dye leaking out of the hole. This can get very messy, with blue dye stains. It is difficult to wash off if it gets on clothing and furniture. If you are buying a bouquet of dyed orchids, inspect them carefully. Make sure that all injection sites have been sealed with wax. If the orchid grower injects the tip of the orchid with too much dye, the dye overload may be toxic to the orchid. The orchid may try to eliminate the excess dye on itself. You will see this when the blue dye leaks out through the nodes or other porous areas of the orchid. Sometimes orchids will drop their leaves, and the tips of the leaves themselves will have a blue tint. This is another sign that too much blue dye has been used.
If you notice this happening and want to save your orchid, there are several things you can do. First, cut off the tip of the orchid with the dyed flowers. If the blue dye is leaking from the nodes, you may want to wear disposable gloves so that the dye doesn't stain your hands. You can place these cut orchid stems in a vase and continue to enjoy the flowers. Removing the tip will help get a good portion of the blue dye out of circulation. Cover the area where you cut off the tip of the orchid with ground cinnamon to help dry it out and prevent infection. If your orchid is also dropping leaves, you can use charcoal in the potting medium to remove the toxins from the blue dye. Good quality charcoal can help remove impurities and extend the life of the potting medium. For an orchid that is struggling to survive, you can try repotting your orchid in a new potting medium and using a higher percentage of charcoal in the mix. You may need to purchase horticultural charcoal separately and add some to the orchid potting medium yourself.
2. How to care for the blue orchid
Phalaenopsis flowers are beautiful to look at and easy to care for. However, you should only buy a box of blue orchids if you don't mind buying a plant that initially produces blue flowers and later produces white flowers. The flowers can last up to three months. They may bloom twice a year if you take proper care of the orchid. Blue orchids should be given the same growing conditions as any Phalaenopsis orchid. Here are some guidelines for light, soil, watering and fertilizer requirements.
The reason Phalaenopsis orchids are ideal houseplants is that they thrive in a temperature range of about 75-85°F (23-29°C) during the day and about 60-65°F (15-18°C) at night. Typically, the temperature in homes is close to this range. Fluctuating temperatures or deviations from this temperature range should be avoided.
This is a shade-loving plant, especially during the summer. It is advisable to protect the plant from direct sunlight, as this could damage the leaves and flowers. However, it requires bright, indirect light. Excessive light can lead to fewer flowers which could also be smaller. On the other hand, foliage that is flaky and dark green could indicate insufficient light. Ideally, the leaves should be firm and medium green in color.
Well-drained soil is another requirement for growing blue orchids. The potting medium should not become soggy. Therefore, you can opt for mixes that drain quickly. You can opt for charcoal, perlite, pine bark, sphagnum peat, etc. The plant should also be repotted if it has outgrown its pot or the potting mix has deteriorated. Repotting should be done in spring or fall, after the flowering season. While repotting, shake the potting mix off the roots and remove any rotten roots. Put a handful of potting mix in a larger pot. Use a chopstick to work the mix into the roots.
Phalaenopsis orchids do not have pseudobulbs that could help them retain moisture. They will do well at 50-70% humidity. It should be noted that the plant can even adapt to lower humidity, if its water requirements are met. When it is very dry, you can use a humidifier. If you are planning to keep the plant on a windowsill, you can place it on a tray with humidity. However, use pebbles to separate the pot and the tray. This is to ensure that the plant is not placed directly on the water. If the humidity is high, you can turn on a fan so that there is constant air circulation.
Make sure to water your blue orchid regularly throughout the growing season. Water the plant in the early morning hours. However, reduce the frequency of watering during the winter. Make sure that the potting mix provides adequate drainage. It should be noted that orchids are epiphytes that obtain nutrients from the air and moisture. When their roots are exposed, they dry out faster. So, water the plant properly, whenever needed. Before watering the plant, make sure that the potting medium is almost dry, but do not let the roots dry out completely. If the plant is placed in a pot, the roots are not exposed to the air, which is why they do not dry out very quickly. So, do not resort to watering, as this can lead to root rot. Keep the leaves dry to avoid crown rot.
During the active growing season, you can apply a balanced (20-20-20) or weakly formulated orchid fertilizer by mixing 1 teaspoon in a quart of water every week. This is ideal for orchids in a peat-based mix. For orchids in a bark mix, an orchid fertilizer with a higher nitrogen content (such as 30-10-10) can be used. During the flowering period and in winter, fertilizer can be applied once a month. Excessive use of fertilizer should be avoided, as this can cause salt buildup, which in turn can lead to slower growth and root damage.
So, the above conditions must be provided for the blue orchid to bloom and remain healthy. Since orchids are epiphytes, a healthy root system is essential. There is one more step you need to take after the flowers have fallen. Cut the tip just above the node where the first bloom appeared. This will stimulate the growth of a new tip, which may reappear in a few months. Remember that the new orchid flowers will not be blue.
Photo source: google.com
Send flowers to Bucharest easily, using our Bucharest flower delivery services, and choose a special Bucharest flower bouquet to express your feelings through fast and efficient Bucharest flower orders .
Flower delivery Bucharest with home delivery
Flower delivery Brașov for fresh flowers and fast delivery